In the fast-paced Hong Kong business environment, efficiency is everything. Whether you are sending signed contracts to clients or digitizing invoices for your accounting department, the "Scan-to-Email" function on your office multifunction printer (MFP) is an absolute necessity. However, when you get a new machine or change your office IT network, setting up this feature can feel like a daunting task.
With recent security updates from major email providers like Google and Microsoft, the old way of simply typing in your email password no longer works. This comprehensive guide will walk you through exactly how to configure scan-to-email on any major copier brand, saving you the cost of an IT call-out fee (which can easily run from HKD 800 to HKD 1,500 in Hong Kong).
1. The Pre-Setup Checklist: Gather Your Information
Before you start pressing buttons on the copier, you need to gather specific network and email details. Doing this first will save you from connection errors later.
You will need:
- The Copier's IP Address: You can usually find this by printing a "Network Configuration Page" or checking the "Network" tab on the physical touchscreen.
- Admin Credentials: The default administrator username and password for your machine (e.g., admin/admin, or admin/123456).
- A Dedicated Email Address: We highly recommend creating a specific email (e.g., [email protected]) rather than using a personal staff email.
- An "App Password": If you use Microsoft 365 or Gmail, standard passwords will be blocked. You must generate a 16-digit "App Password" in your email account's security settings.
2. Find Your SMTP Server Settings
The SMTP (Simple Mail Transfer Protocol) server is the digital post office that sends your scanned documents. Depending on your email provider, you will need to input specific server addresses and port numbers into the copier.
| Email Provider | SMTP Server Address | Port Number | Security (SSL/TLS) |
|---|---|---|---|
| Microsoft 365 (Exchange) | smtp.office365.com | 587 | STARTTLS / TLS |
| Google Workspace / Gmail | smtp.gmail.com | 465 or 587 | SSL (465) / TLS (587) |
| Hong Kong ISP (e.g., Netvigator) | mail.netvigator.com | 25 | None (Not recommended for business) |
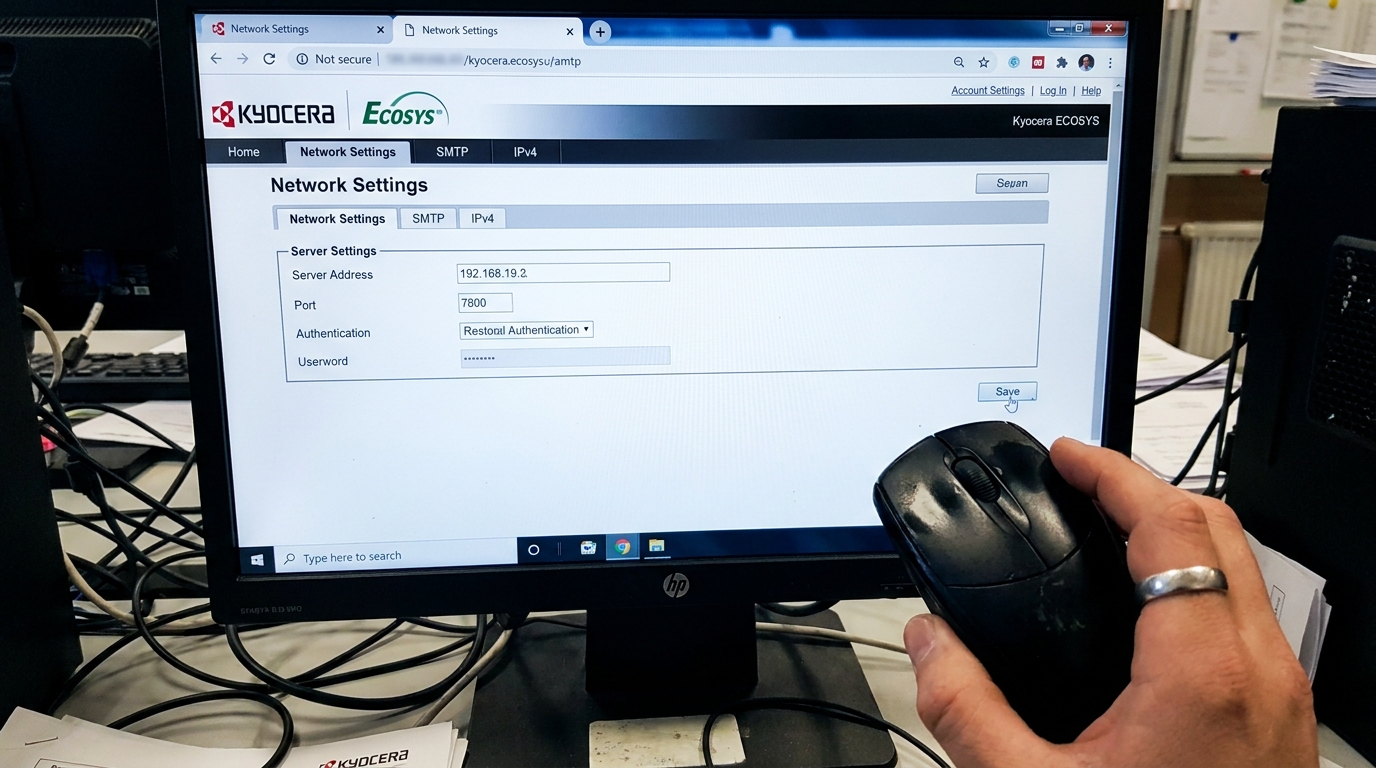
3. Step-by-Step Setup Guide
While the menus differ slightly between a Ricoh, FujiFilm, Canon, or Konica Minolta, the core process is universally the same. Follow these steps from a computer connected to the same Wi-Fi or LAN network as your printer.
Step 1: Access the Web Interface (Web Image Monitor / CentreWare)
Open your web browser (Chrome, Safari, Edge) and type the copier's IP address into the URL bar (e.g., http://192.168.1.15). Hit enter. You will be greeted by the printer's login page. Enter your admin credentials.
Step 2: Navigate to Network & Email Settings
Look for a tab labeled Network, System Settings, or Connectivity. Under this, find the Email or SMTP configuration page.
Step 3: Enter the SMTP Details
Input the SMTP server address and port number from the table above. Ensure that the "Sender Email Address" or "Device Email Address" matches the account you are using to authenticate.
Step 4: Configure Authentication
Turn on "SMTP Authentication". Enter the email address as the username. For the password, do not use your regular email password. Paste the 16-digit "App Password" you generated from Google or Microsoft. Turn on SSL or TLS encryption based on your chosen port.
Step 5: Test the Connection
Most modern machines from Kyocera, Sharp, and Toshiba have a "Test Connection" button on the same page. Click it. If it says "Success," you are ready to scan!
4. Common Troubleshooting in Hong Kong Offices
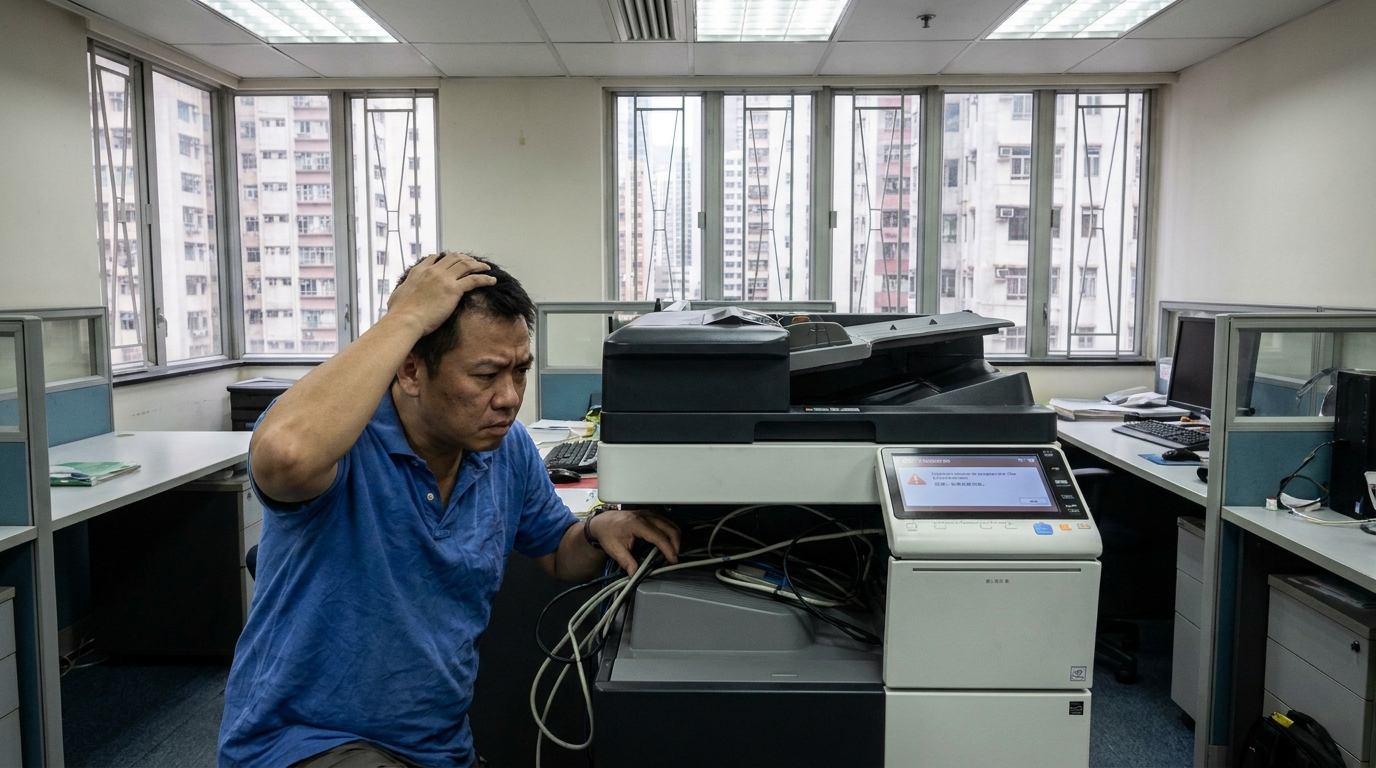
If the test fails, don't panic. Here are the most common reasons scan-to-email fails in local setups:
Router Changes
Did you recently upgrade your HKBN or PCCW router? If the copier was on a static IP, the new router might be using a different subnet (e.g., changing from 192.168.1.x to 192.168.8.x). Update the copier's IP address to match the new network.
DNS Settings
If your copier cannot resolve "smtp.gmail.com", it might be a DNS issue. Go to the IPv4 settings on the copier and set the Primary DNS to 8.8.8.8 and Secondary to 8.8.4.4 (Google's public DNS).
Basic Auth Blocked
If you are getting an "Authentication Error," it is almost certainly because you are using a standard password instead of an App Password. Microsoft and Google disabled basic authentication globally in recent years.
Time and Date Errors
Security certificates (SSL/TLS) require the correct time to validate. If your copier's internal clock is off by a few years (often happens after a power outage), the email server will reject the connection. Ensure the time zone is set to GMT+8 (Hong Kong).
5. Brand-Specific Interface Names
To help you navigate, here is what the web interface is called for popular brands commonly found in Hong Kong offices:
- FujiFilm / Xerox: CentreWare Internet Services (CWIS)
- Ricoh: Web Image Monitor
- Canon: Remote UI
- Konica Minolta: PageScope Web Connection
- Kyocera: Command Center RX
- Brother / HP / Epson / Pantum: Embedded Web Server (EWS)
Setting up scan-to-email might seem highly technical, but by following these steps and ensuring you have the correct App Passwords and SMTP settings, you can have your office digitizing documents in minutes. If you are leasing a machine, remember that reputable vendors usually include this setup as part of your installation, and a standard 4-hour SLA (Service Level Agreement) should cover troubleshooting if the system suddenly goes offline.
Need Expert Advice?
Our consultants can help you find the perfect printing solution for your office.
📞 +85221164877 · King Copier · Operated by Techieasy Limited